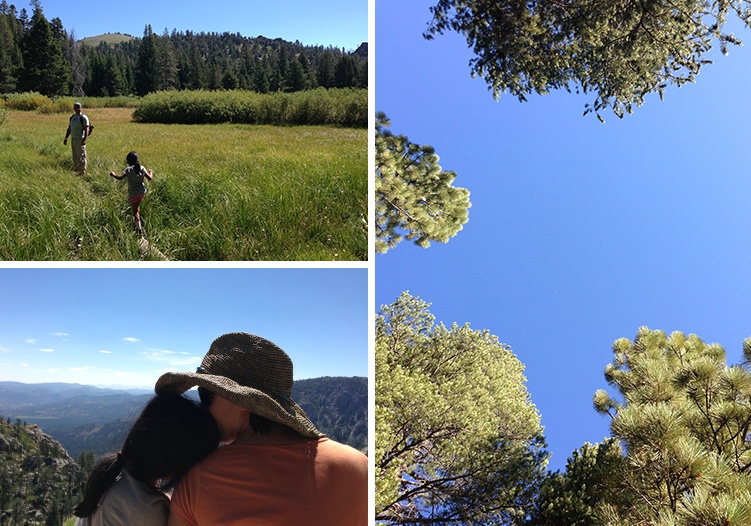
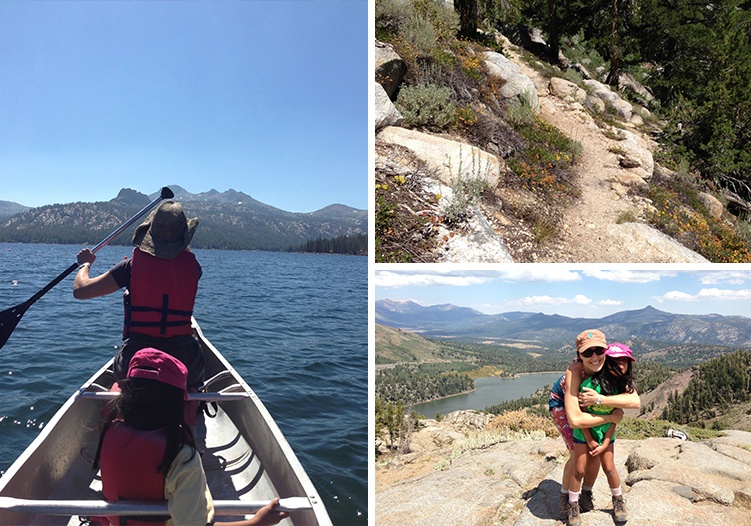
We just got back from an incredible camping trip in Hope Valley, Calif., and I wanted to share some of the tricks and tips we've gleaned about “gourmet camping” over the years (to see our full five-day menu, click here).
With the right camping gear you can turn out amazing, easy camping food in mere minutes, which leaves lots of time for Uno, stories and s'mores. And, when your gear is strategically doing double duty, you're not loaded down with an excess of camping equipment. Here's how we set up our camp kitchen.
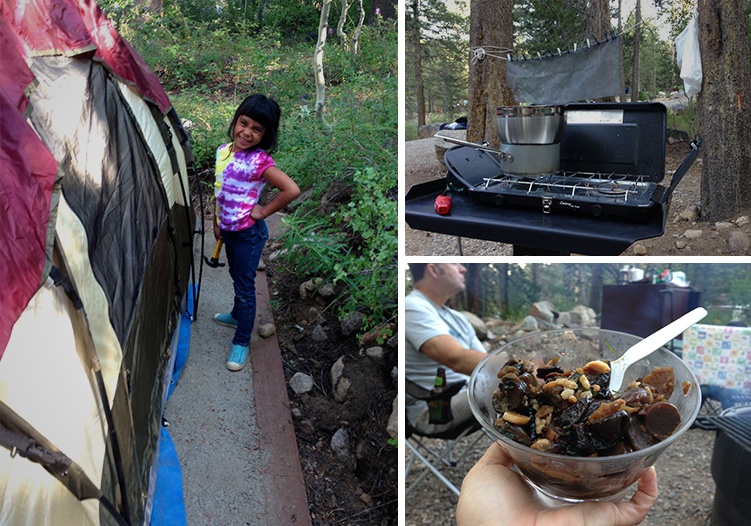 Photos (clockwise from left): Our big helper, Noemi. Our trusty Coleman in the foreground, and our “drying rack” in the background. Awesome first night dinner of Sticky-Spicy Eggplant over a Village Harvest wheat berry mix. (I heated the wheat berries first, then put them in a bowl above the pot to keep warm while reheating the eggplant that I'd made at home and packed in the cooler in a zip-top bag)
1) Make everything you bring do multiple duties. Tongs = fire pokers. Metal mixing bowls = pot lids. Foil = wrapper and makeshift cookie-esque sheet for grill grates.
2) Get a knife roll to hold your kitchen equipment. Trust me, it is by far the best (and safest) way to keep your kitchen gear together.
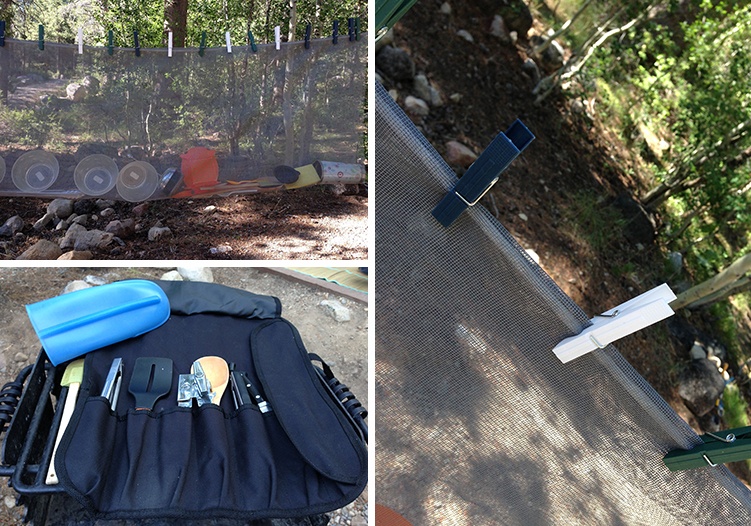
3) Set up a drying “rack.” Here's how: String a rope between two trees roughly 8 to 10 feet apart. Fold a 5-by-4-foot piece of standard window screen mesh in half so it measures 2-1/2-by-4 feet. Fold both edges of the long side opposite the fold over the rope by 3 inches and secure every 6 inches with clothes pins. Tuck clean, wet dishes into the mesh pocket to dry.
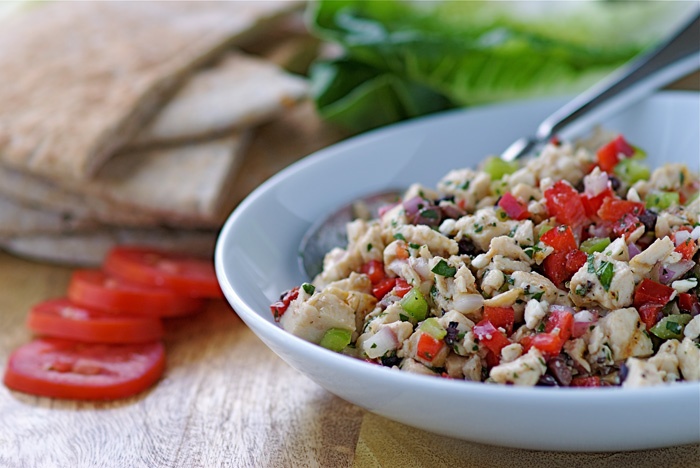
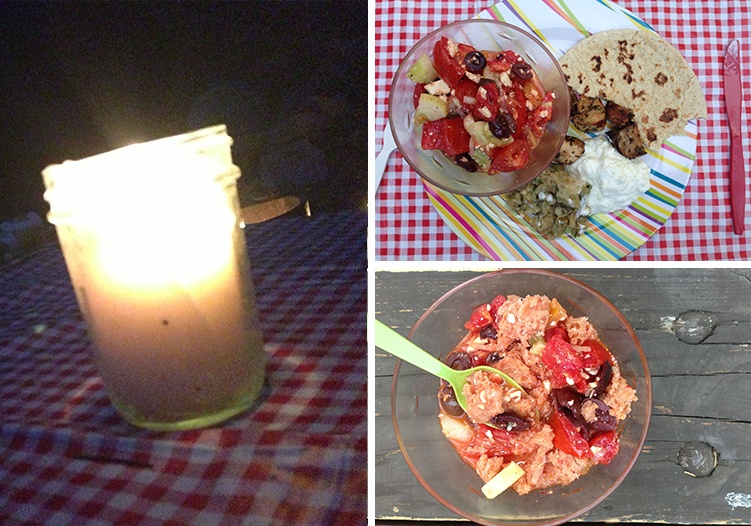
4) Think of “evolutionary meals.” Our Greek salad turned into a panzanella for a picnic the next day with leftover stale bread, which then disintegrated into a sort of rustic gazpacho that Noemi gobbled up as an appetizer before dinner.
5) Make hurricane votives from mason jars.
6) Cook for more than one meal when you can. When you're boiling pasta, make enough–and plan for–another meal as well. Pasta, rice, oatmeal … all double super well and can be dressed up with different toppings the next day for an almost instant meal.
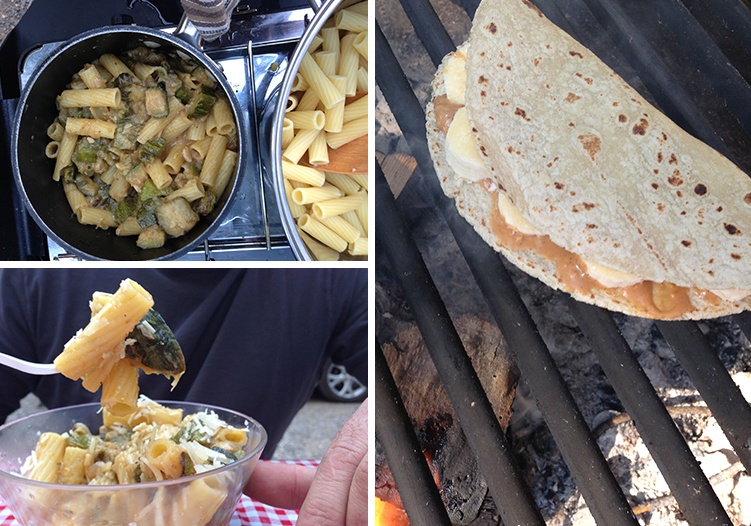
7) Use the campfire when you can. For s'mores, of course. And souvlaki, cheese–and even peanut butter and banana–quesadillas, too. Place a piece of foil on the grates above the fire for extra gooey dishes, or to keep foods warm.
8) Bring two wash tubs. One for hot, sudsy water and one to rinse.
Our Camp Kitchen Equipment List
- Coleman 2-burner stove (plus propane)
- Skewers
- Cast iron griddle
- Medium skillet
- Medium pot
- Large black kettle
- Cutting board (1 large, 1 small)
- 3 metal bowls
- Mesh food covers
- Knife Roll
- Tongs (2 pairs)
- Spatula
- Stiff spatula
- Stirring spoon
- Can opener
- Small serrated knife
- Small chef's knife
- Foil
- Zip-top plastic bags
- 5-by-4-foot screen mesh
- Mason jars
- Votive candles
- Plates, bowls, cups and cutlery (1 set for each camper)
- 2 wash tubs
- Environmentally safe dish soap
- sponges
- Towels
