Whole wheat pizza dough can be heavy, but we’ve found that using a combination of flours and a long rise gives the yeast plenty of time to lighten the texture. This no-knead method is based on Penni Wisner’s no-knead bread. You can double this pizza dough recipe, and freeze the extra to make pizza another time. (Thaw the frozen dough in the refrigerator overnight.) Using a kitchen scale ensures consistent results—especially if you like to play around with using different types of flour.
Ingredients
- 6 ounces unbleached all-purpose flour (approx. 1-1/3 cups)
- 3 ounces white whole-wheat flour (approx. 1/2 cup plus 3 tablespoons)
- 3/4 teaspoon sea salt
- 1/8 teaspoon active dry yeast
- 6 ounces (by weight) warm water: 100°F to 110°F (about 3/4 cup)
- 2 tablespoons extra virgin olive oil
Instructions
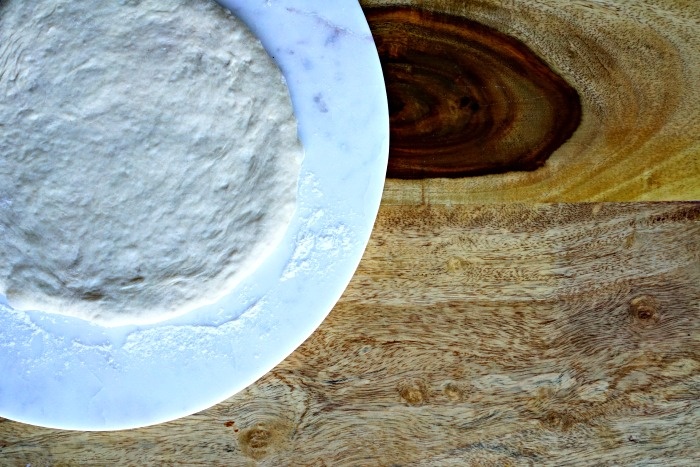
- Whisk together flours, salt and yeast in a large bowl. Create a well in the center of the flour mixture, and pour in warm water and oil. Stir with a wooden spoon until it gets too stiff to stir, then switch to a rounded bowl scraper until you have a sticky, ragged mass. Cover with a plate or plastic wrap, and let stand at room temperature for 18-24 hours.
- 15 minutes after mixing dough, scrape around the edge of the bowl with a bowl scraper, pulling the dough into the center. Repeat (if you have time) 15 minutes later. (If you have time during the first 2 hours, fold the dough over on itself every half-hour. After a couple of repeats, the mass will come together into a smooth, wet dough. The folding also helps distribute the yeast more quickly.)
- When the pizza dough is very bubbly (18-24 hours), scrape it down with the bowl scraper. Dust a counter with flour (more heavily if the dough seems really wet). Scrape the dough onto the counter, and dust the top with more flour. Divide the dough in half. Place 1 portion on the work surface. (Cover remaining portion to keep it from drying out.) Fold the dough over onto itself—pick up one side and fold it to the middle, then the opposite side, then the top, and then the bottom. Press down lightly, adding more flour as needed, and repeat the folding one more time. Flip the dough over, and shape it very gently, cupping it between your palms and rotating it, into a ball. Repeat with remaining portion. (At this point, you can either roll the dough out to use, or put each portion of dough in a plastic zip-top bag, and freeze to use another time. Thaw the dough overnight in the refrigerator.)
- Dust a pizza peel or rimless baking sheet with cornmeal. Gently shape 1 pizza dough portion into a 10- to 12-inch round on a lightly floured work surface. (You can do this by hand or with a rolling pin.) Transfer the dough to the dusted pizza peel or baking sheet. Pile on the toppings, and transfer the pizza to a hot pizza stone preheated to 500°F on the bottom rack of the oven. Bake 9-12 minutes, or until the toppings are bubbly, and the crust is golden.
Note: The pizza should easily slide from the cornmeal-dusted peel onto the stone, but this is a maneuver that can take some practice. An alternative is to shape the dough, transfer it to a square of parchment paper that’s slightly larger than your pizza, top it as desired, and then place the parchment paper with the pizza onto the hot stone.
Makes two 10- to 12-inch pizza crusts.
Want to learn how to master nourishing, easy weeknight meals (without spending hours in the kitchen)?Click here to register for my free training!


