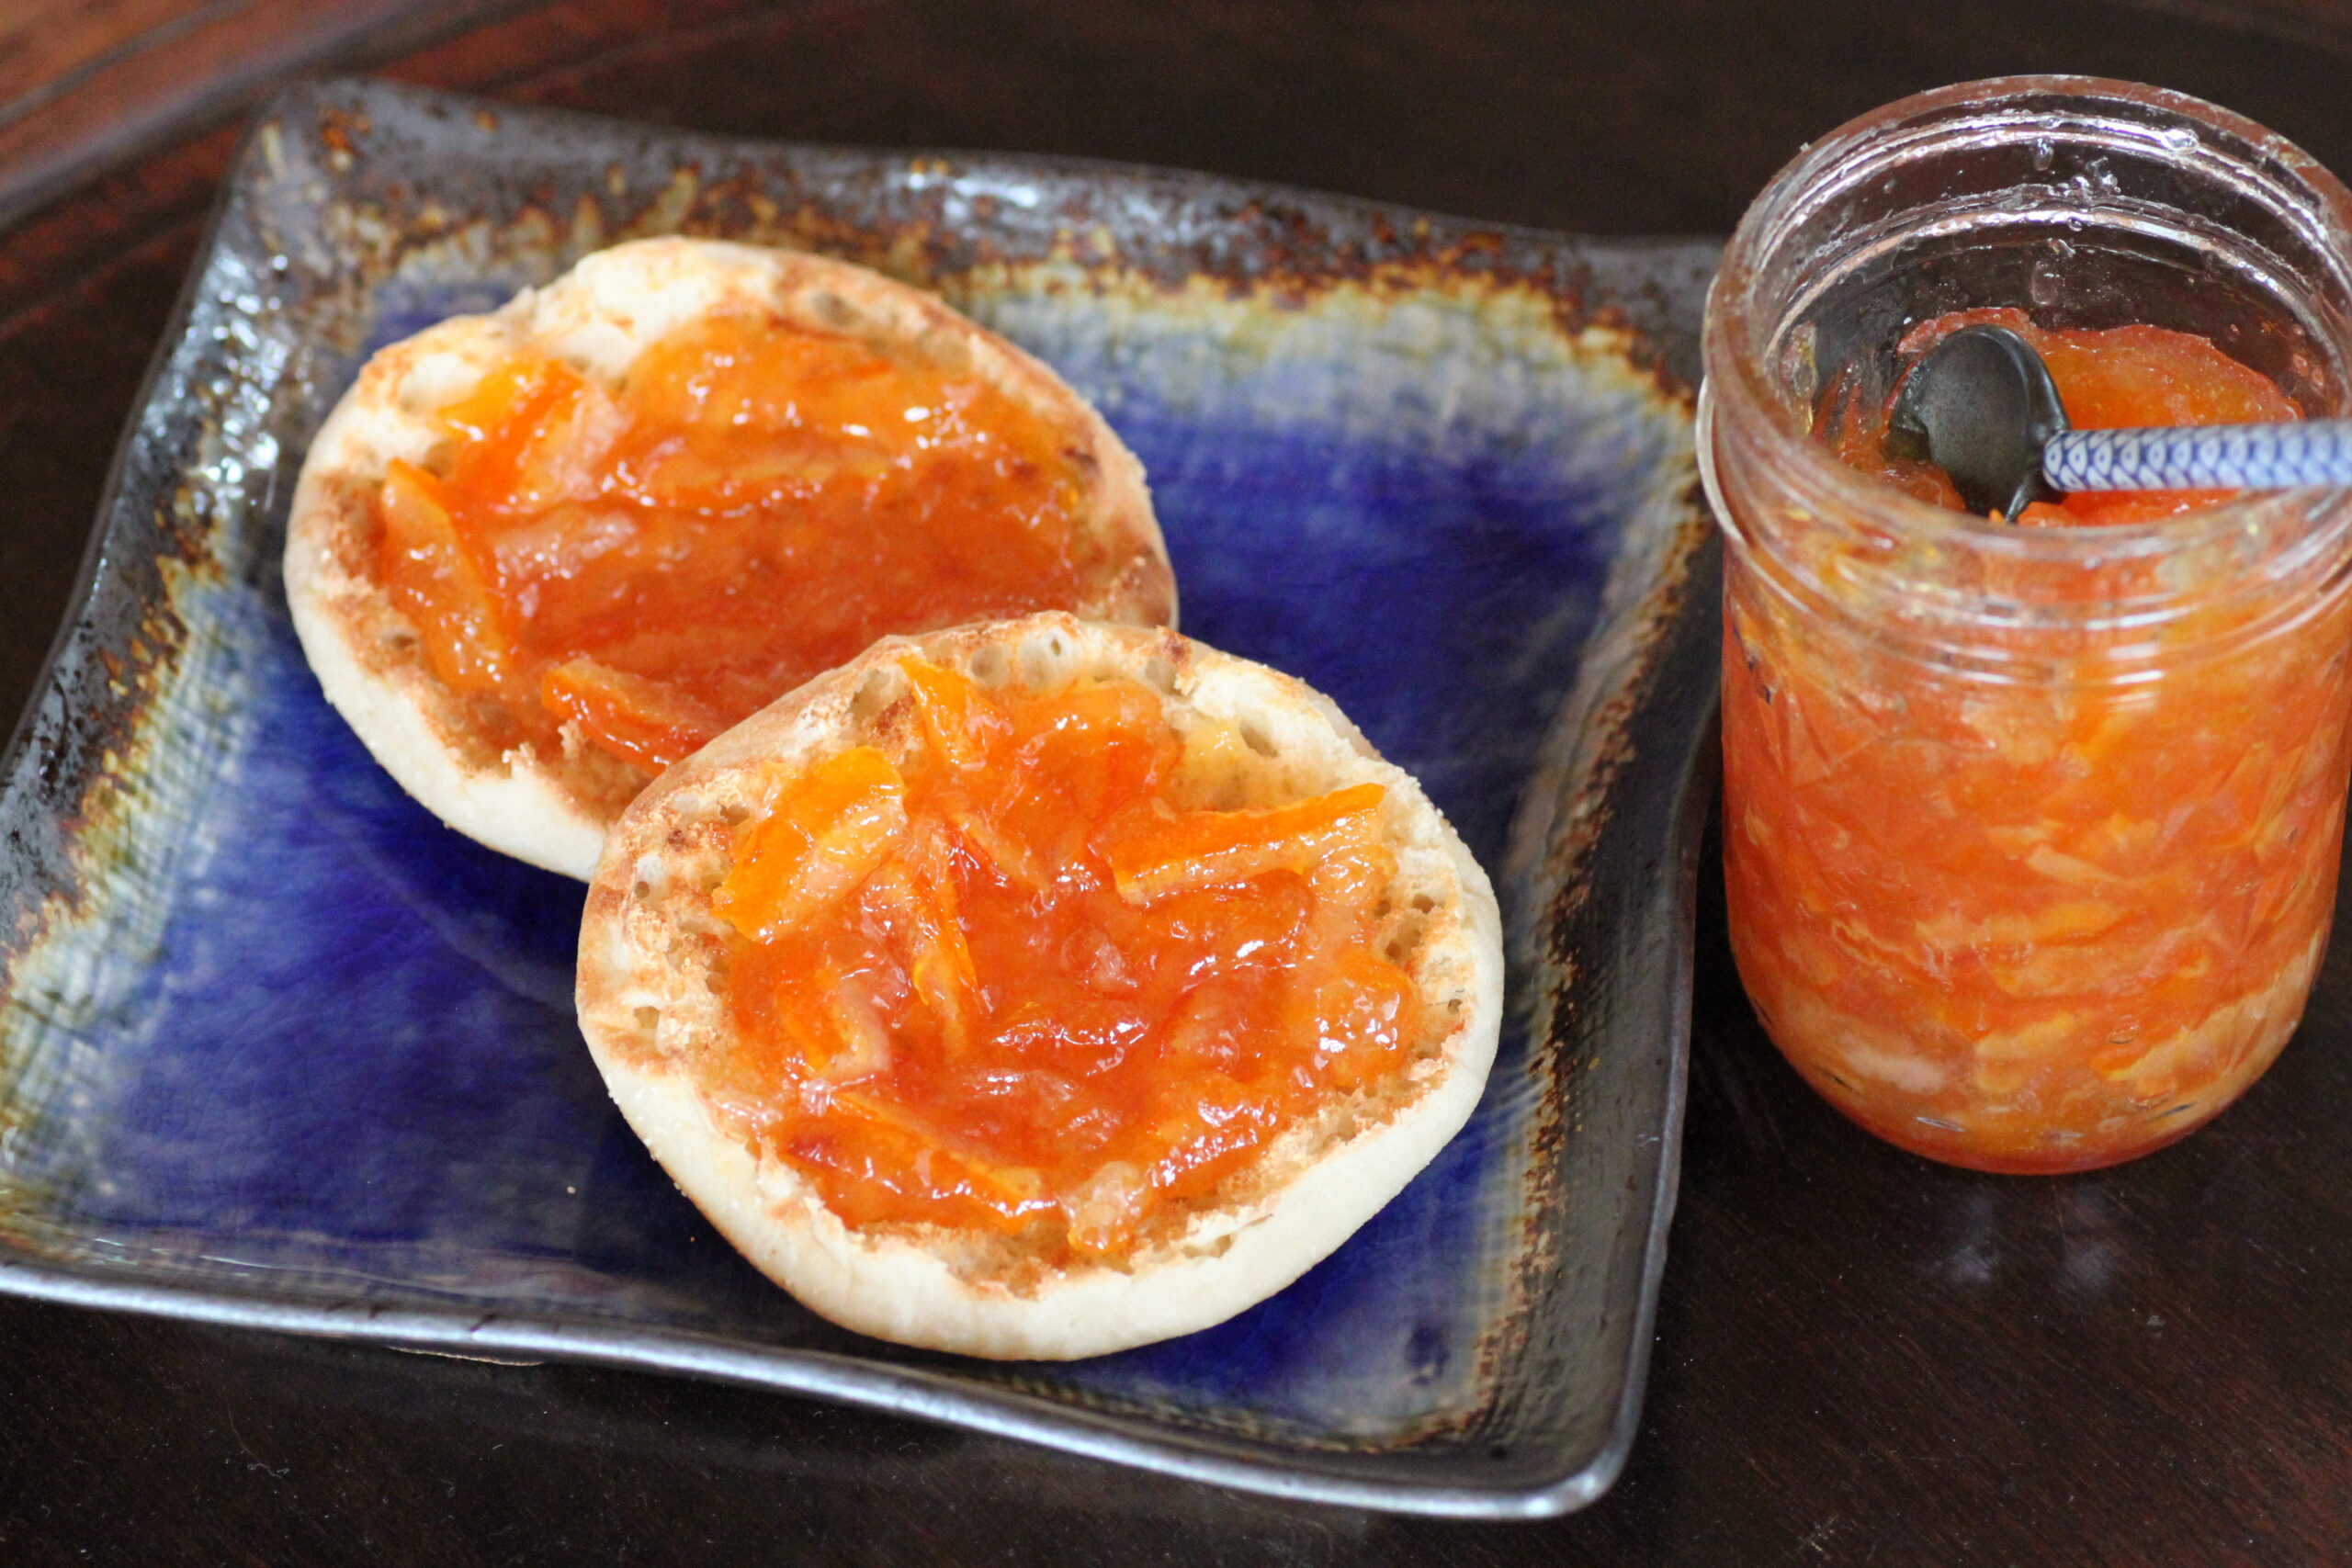
Chock-full of tender bits of candied peel, this bittersweet blood orange marmalade recipe, adapted from A Passion for Preserves by Frederica Langeland, has a fruit-forward flavor. It is wonderful spread on toasted English muffins or a crisp baguette.
Ingredients
- 2 pounds organic blood oranges
- 1 lemon (for added acid and pectin)
- 8 cups water
- 1/8 teaspoon baking soda (to help retain color of fruit)
- 6-7 cups sugar
- 1/2 teaspoon unsalted butter (to reduce air bubbles)
Gather the following equipment
- cheese cloth
- kitchen twine
- 1 large cooking pot and 1 water bath canner with rack (or 2 large cooking pots)
- wooden spoon
- 8 8-ounce canning jars with sealing lids and rings
- jelly or candy thermometer
- kitchen tongs or canning tongs
- baking rack
- ladle
- clean rubber kitchen gloves
- clean paper towels
Instructions
- Thoroughly clean and disinfect your work area, and gather all materials. Wash jars, lids, and rings in hot soapy water, and set aside on a clean towel to air dry.
- Gently scrub the fruit with a vegetable brush under lukewarm running water to remove any waxy residue. To chop fruit, slice off stem and blossom ends to reveal end of segments, and discard. Slice fruit as thinly as possible, into rounds no more than 1/8 inch thick. Slice rounds into small wedges. Remove seeds as you find them, and set aside. When all fruit is cut, wrap seeds in a small bundle of cheese cloth, and tie tightly with kitchen twine.
- In a large pot combine water, fruit, seed bundle, and baking soda. Bring to a simmer, and cook until peel is soft, and liquid is reduced by half* (see note), about 2 hours. Measure the contents of the pan, and combine with 1 cup of sugar for each cup of fruit mixture. Squeeze and scrape any jelly-like pectin from seed bundle into fruit mixture, and discard bundle. Add 1/2 teaspoon unsalted butter. Stir constantly over medium-low heat, until sugar is fully dissolved. Clip candy or jelly thermometer to edge of pan, and bring to a low boil. Monitor the temperature closely, and remove from heat when mixture reaches the gelling point at 220°F** (see note). This will take 40 to 90 minutes of cooking time.
- While marmalade is cooking, sterilize jars. Fully immerse jars in a large pot of fresh water. Bring to a boil for 10 minutes. Jars may be left in hot water until ready to fill.
- When marmalade has reached the gelling point, quickly skim off any foam, and begin processing (i.e., filling). Put on rubber gloves to prevent burns. Use tongs to carefully remove and empty jars from hot water bath, placing upright on baking rack. Use ladle to fill hot jars with hot marmalade, leaving 1/4 inch of headspace. Use clean, damp paper towels to wipe any drips from jar rims.
- Immediately place lids on jars and screw on sealing rings—don’t over tighten. Process jars in a water bath canner for 5 minutes*** (see note) according to canner instructions, before cooling jars on baking rack. Alternately, invert the jars on baking rack, and set timer for 5 minutes. (This method is acceptable, but less safe and effective than water bath canning.) When timer goes off, place jars right side up on baking rack. Leave jars undisturbed for at least 12 hours. As marmalade cools, lids should form a vacuum seal, indicated by the indentation of the dimple on the lids. Jars that failed to seal can either be refrigerated and consumed within 2 weeks, or reprocessed so they properly seal.
by Ginny Mahar
* Subtract 2℉ for every 1,000 feet of elevation.
** Increase processing time by 5 minutes for every 3,000 feet of elevation.
Want to learn how to master nourishing, easy weeknight meals (without spending hours in the kitchen)?Click here to register for my free training!


